How to issue an invoice in KSeF?
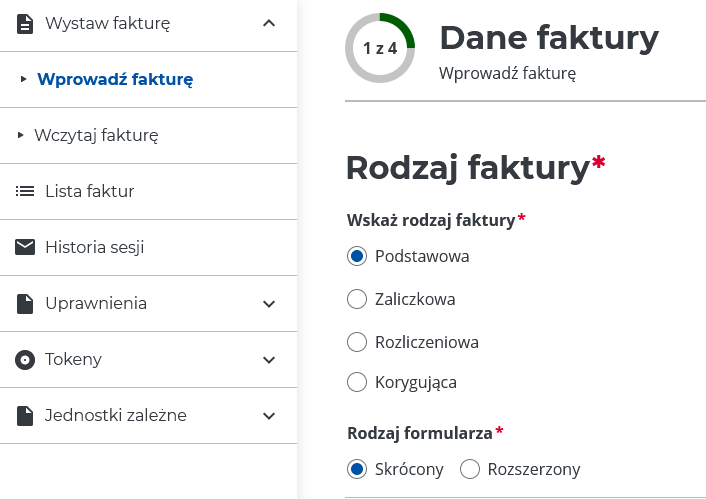
- After logging in to your company account, select from the side menu
Issue an invoice, and thenEnter the invoice. In the fieldInvoice typewe chooseBasic, and in the fieldForm type–Shortened.
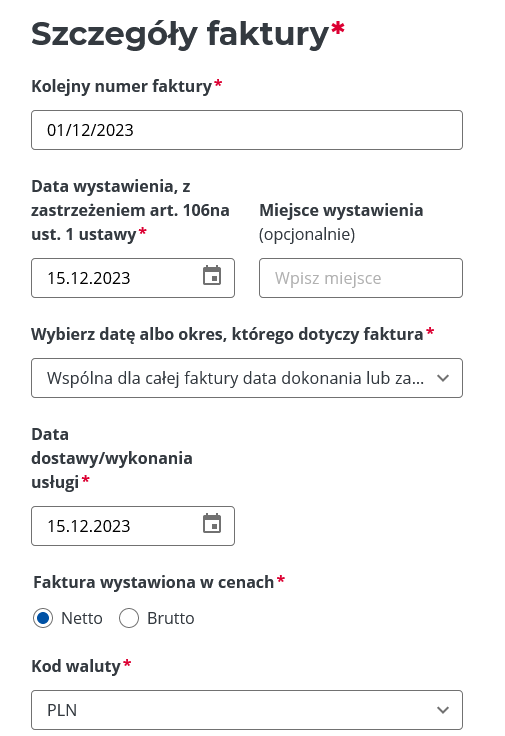
2. Next, we need to provide details describing the invoice. We fill in all mandatory fields in turn:
-
Next invoice number– 1/12/2023date of issue– 15/12/2023The period covered by the invoice– Common for the entire invoice…Date of delivery or service– 15/12/2023The invoice is issued with prices– NetCurrency code– PLN
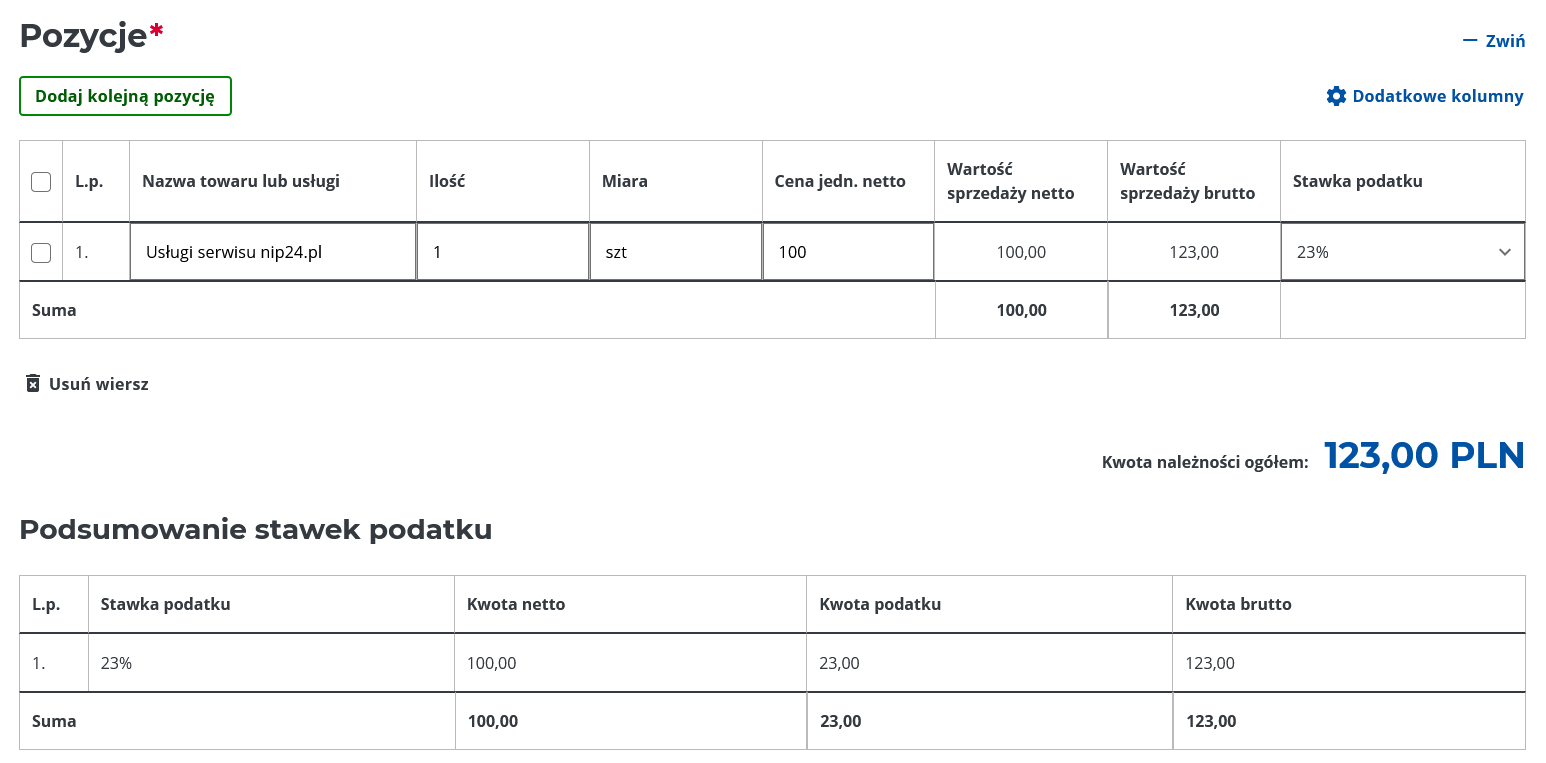
3. By sliding the screen down, we must add the items for which the invoice is issued. The application requires adding at least one invoice item, so we complete the following fields:
-
Name of product or service– Services of the ksefapi.pl websiteQuantity– 1Standard– artPrice per unit. Net– 100Net sales value– completed automaticallyGross sales value– completed automaticallyTax rate– 23% (for most cases)
Pola w Summary of tax rates are completed automatically.
4. If we want our invoice to be paid by transfer, it is worth adding information about it Payments. For this purpose we choose:
-
Do you want to add a section?- YesPayment information– No paymentDo you want to add a payment date and description?- YesDate of payment– we choose from the calendar, unfortunately it is not possible to select 7 or 14 days from the date of issue.
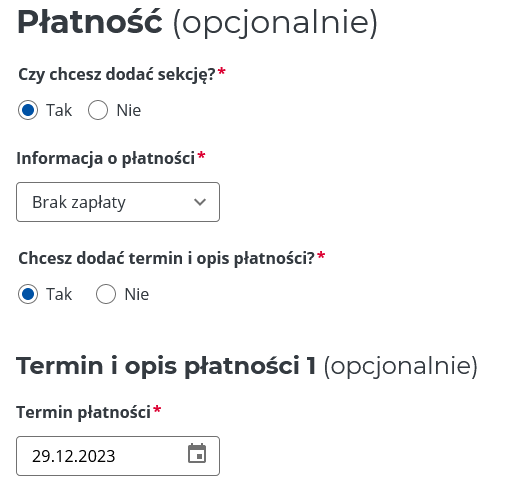
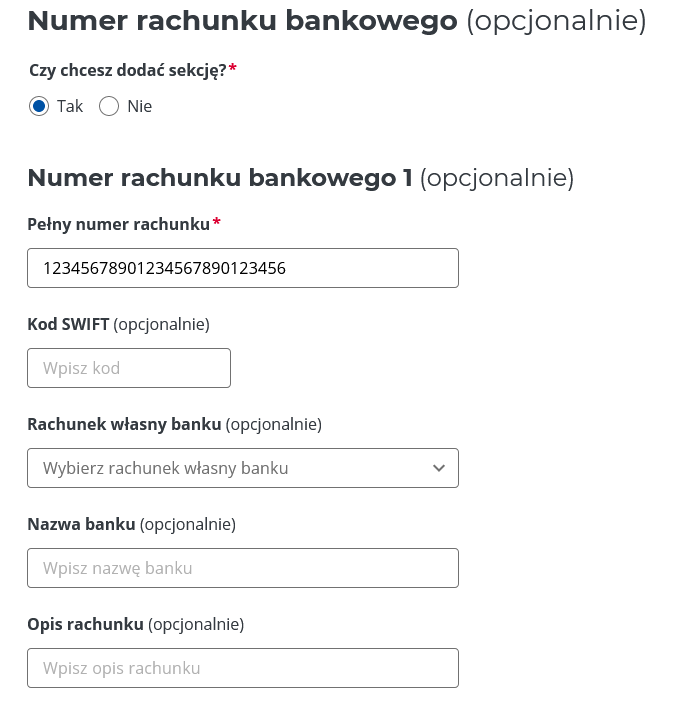
5. When asked whether to add a section about Bank account number, of course we answer Yes and complete the following fields:
-
Full account number– enter our bank account number
We can leave the remaining optional fields blank.
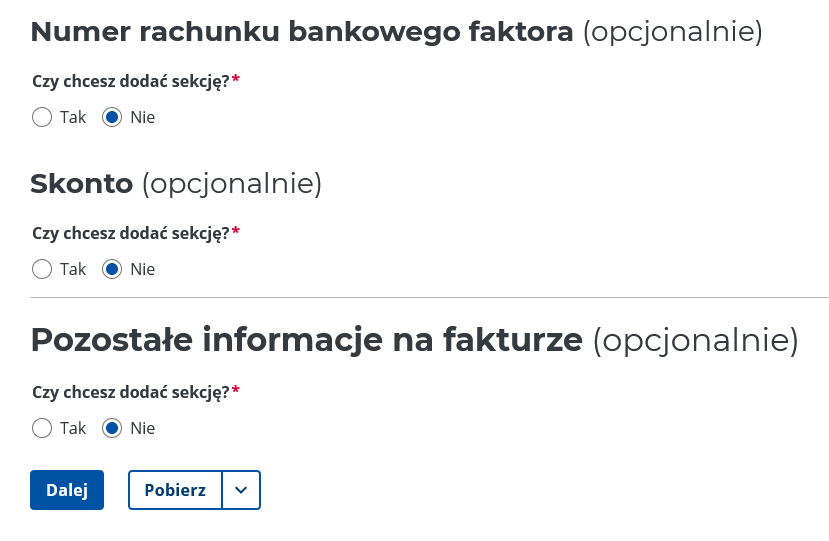
6. Leave the remaining optional sections blank in this step and press the button Nextto go to the next step
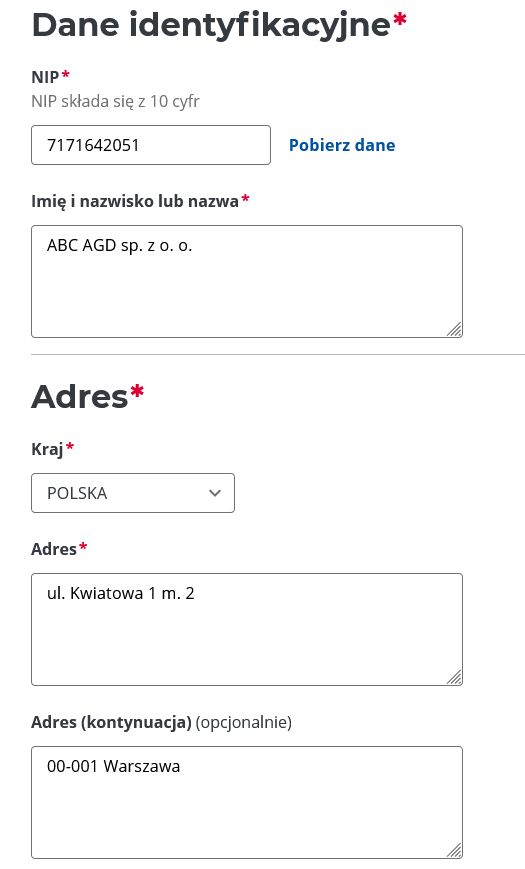
7. In the next step, we need to provide data Seller, i.e. the details of our company that issues the invoice. Fortunately, the application developers allow you to download all the necessary data after entering the number Tax Identification Number and pressing the button Download data.
8. We don't want to provide contact details, so we press the button once Next to proceed to the next step of the KSeF invoice creator.
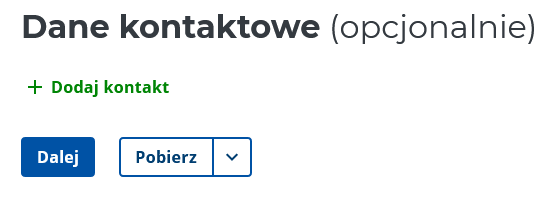
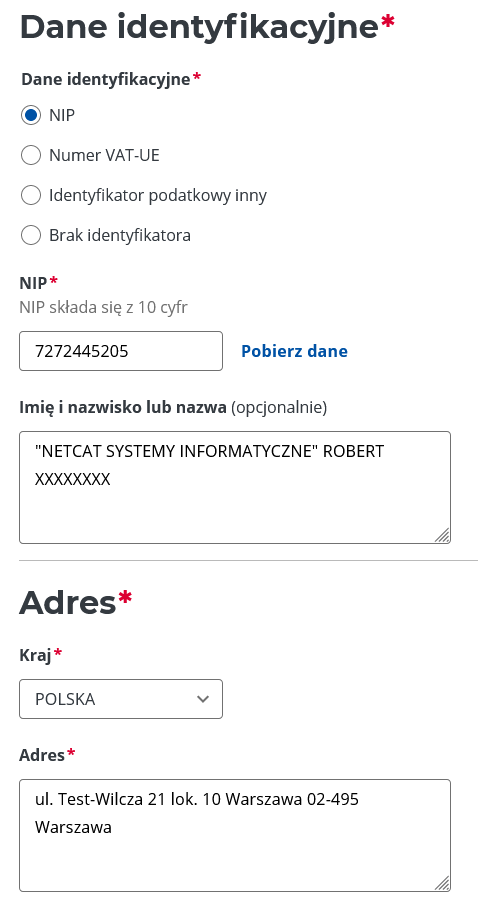
9. In step 3 of 4 we need to enter identification data Buyers. Here, application authors also enable downloading data and automatically filling out the form based on the entered number Tax Identification Number. Therefore, let's use this option to quickly fill in the fields describing the Buyer, i.e. the entity for which we issue an invoice in KSeF.
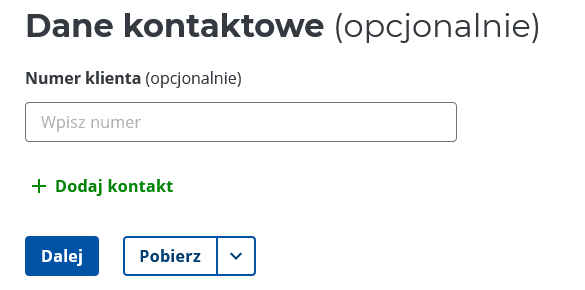
10. Traditionally, a section Contact details leave it blank and click Nextto go to the last step of the wizard.
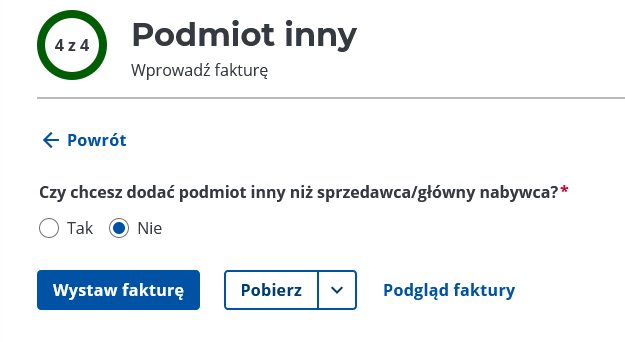
11. The last step (4/4) allows you to add an entity other than the Seller or the Buyer. Of course, in 95% cases this is not necessary, so before issuing the invoice we can preview it and if everything is correct, we press the button Issue an invoice.
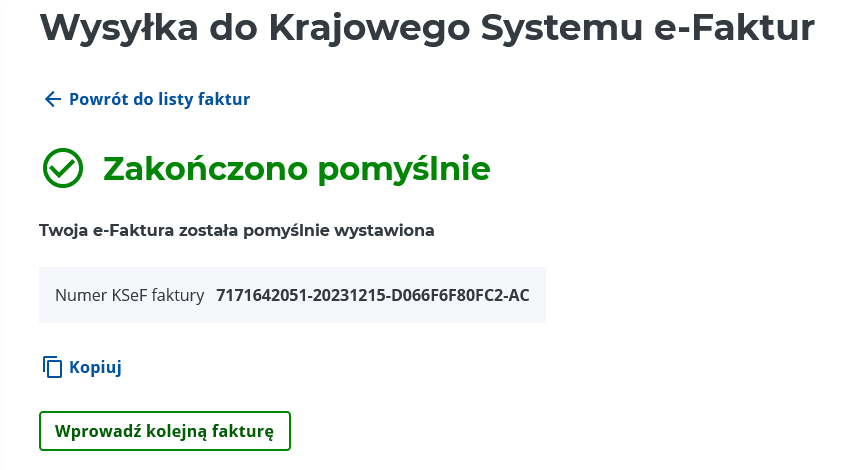
12. After clicking the button Issue an invoice, the application sends the invoice to KSeF. Correct completion of the operation always returns the KSeF invoice number assigned by the system:
Way to go! You have just issued your first KSeF invoice.
other parts A guide to KSeF, which may also be interesting reading:
- Creating an account in the National e-Invoice System.
- I am issuing my first KSeF invoice.
- How can I load an invoice into KSeF if it was issued from another invoice generating program?
- I need to search and download a cost invoice from KSeF
- I want to generate an authorization token enabling sending and receiving KSeF invoices
